Last Updated on November 9, 2021 by admins
A saltwater aquarium is a great addition to any place, which is why many people are interested and wonder how to start a saltwater aquarium step by step. Proper assembly and maintenance of your saltwater aquarium is necessary if you want your fish to live in good conditions! In today’s article, we’ll be diving into the ins and outs of a saltwater aquarium and taking a closer look at how exactly they’re set up!
Saltwater Tank Setup
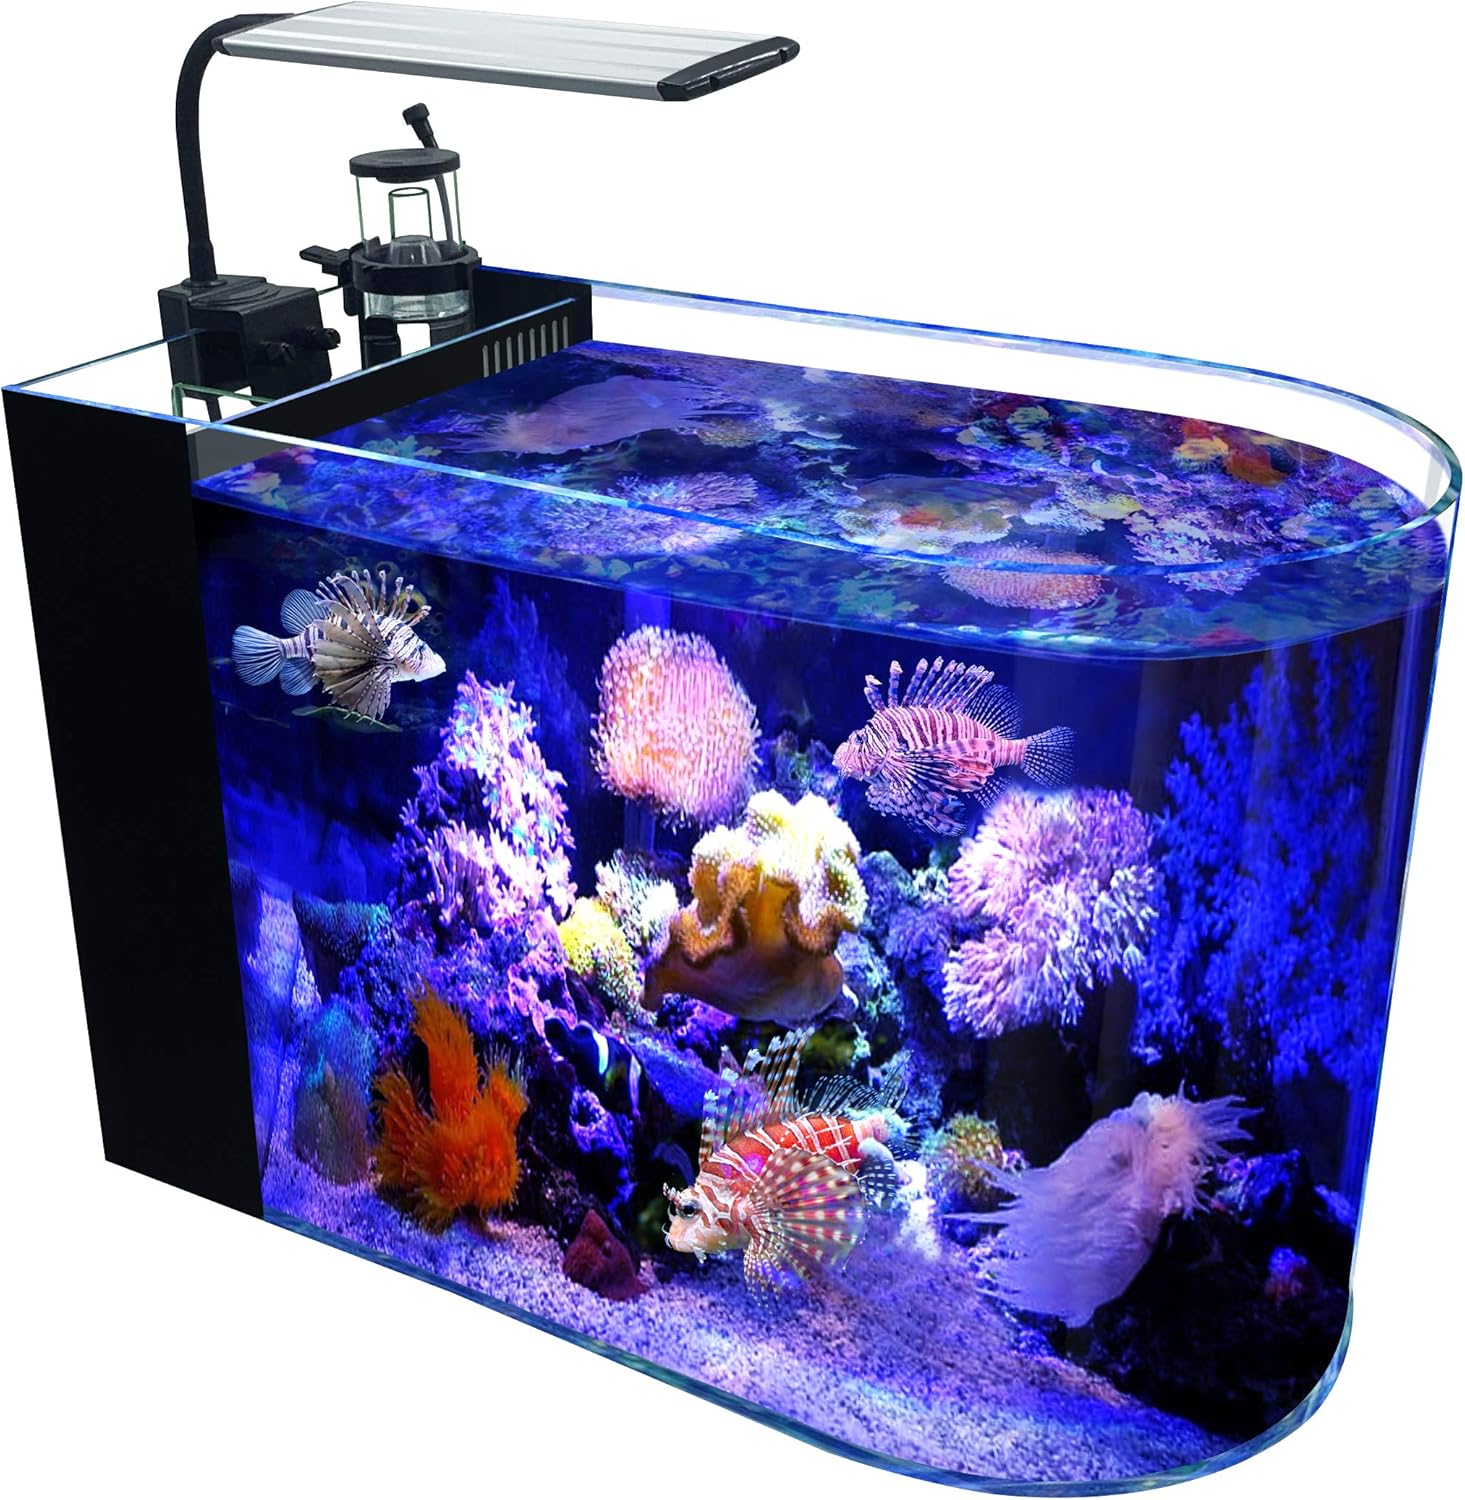
You might be surprised by all the equipment necessary to actually set up a beginners saltwater fish tank. You’re going to need to invest to start your first saltwater aquarium.
Firstly, you’ll need your aquarium. When you’re purchasing it, make sure to know which size you need – don’t buy a tank that’s too large for the area you want to place it in. You don’t want your aquarium to be surrounded by walls on all sides – you need space for maintenance! You should also buy an aquarium that’s proportional to the fishes you plan on keeping! Don’t buy a small tank for large fish!
Following that, you’ll need lighting, skimmers, and filters. Filters are very important for water purity, and the type of filter you’ll need depends on the kind of aquarium you’re buying.
You will also need a powerhead – its job is to circulate the water. Heaters are just as important as they’ll regulate your water temperature! You will also need maintenance tools, test kits, additives, and supplements.
The last step will be buying the saltwater mix for the aquarium.
As you can see, all of this is necessary long before you decide on the live rock you’ll have. However, these steps are crucial to set up a healthy marine environment!
Read more about: Protein Skimmers For Saltwater Aquariums
Starting A Saltwater Tank
To begin, wash the tank to make sure that there isn’t any dust inside. Following that, place it on the spot you’ve chosen for it – use a carpenter’s level to check if the tank is level. Don’t press the tank against a wall, there needs to be some empty space for electronics and maintenance.
Make sure to check for any leaks before you start setting up your electronics! If the tank is faulty, you can return it to the store and get a replacement.
If your tank passes the test, you can add the substrate. Keep in mind that different fishes want different substrate! Some people keep the tank floor level, while others make small hills and valleys.
Now it’s time to install the filter, heater, skimmer, and powerhead following the manufacturer’s instructions, but don’t plug them in just yet.
Put the décor in first, after which you’ll fill the tank up. Once you’ve filled the tank to the desired level, you should start adding your salt until it reaches the desired gravity reading (check this with your hydrometer).
Know that it may take up to 48 hours for your gravity reading to stabilize!
After you’ve completed all these steps, it’s time to plug in all the electronics. Know that your salt gravity reading and water temperature depend on the sort of flora and fauna you’ll be keeping in your aquarium.
Now that you’ve finished setting up your saltwater aquarium, you’ll need to wait for the water temperature and the gravity reading to stabilize! This is called the stabilizing period and it lasts for 48 hours. A number of chemical processes will happen during this period.
You shouldn’t be surprised if the water becomes murky at some point – just wait for it to dissipate before adding fish!
Saltwater Aquarium Temperature
Temperature can easily be defined as the most important factor in your aquarium! Marine animals are very vulnerable to temperature change and you need to keep it perfectly regulated if you want healthy fish! If the water temperature drops or rises too much, the fish can get sick and even die.
The temperature of your aquarium must depend exclusively on the fish you’re planning on having. Many people will swear by one or another range of temperature as ‘the most ideal one’. That sort of thinking is wrong since not all fishes can survive in all marine environments. This is why it’s best to ask the animal keepers in pet shops for advice – their tanks are usually perfectly regulated.
Since you’re buying fishes from their tanks, they’ll know what’s the best temperature for them!
This is another reason why it’s so important to keep fish with the same origin. You can’t have two different species of fish in the same aquarium if the difference between the temperatures they need is too big. Make sure that all the fishes in your aquarium can live in the same environment!
Another thing that you will need to keep an eye on is the temperature swing. Most fishes aren’t used to a five-degree temperature swing within 24 hours. That can be too much for them, which is why you need to make sure that the temperature is stable. It’s especially important to regulate this during cold and hot seasons.
It’s crucial to learn to regulate the temperature in order to start your saltwater aquarium properly.
Adding The Fish To Your Saltwater Aquarium
Adding the fish is a delicate process because they’re vulnerable animals, but it’s the last step to start your saltwater aquarium. You can’t just let them swim around your aquarium immediately, they need to acclimatize first! That’s why the acclimatization process can take over a day and you need to do it carefully and patiently.
To help the fishes with this, turn off the lights and let them float in the bag. After floating for about 15 minutes, they’ll adapt to the water temperature. Then, open the bag and add a cup of aquarium water every few minutes until the bag is full.
Then, pour out half the water from the bag (in a bowl, not in the aquarium) and repeat the cup process. Once the bag is full again, you can use a net to move the fish from the bag to the tank! Get rid of the water from the bags. Once you’ve finished the acclimatization process, leave the fish alone for a day.
Observe your fish over the next 24 hours to make sure that they’re doing well! Check if they’re eating during feeding time! If they haven’t acclimatized, they’ll show you that.
Leave a Reply
You must be logged in to post a comment.